.edu.ng and .sch.ng are only for accredited schools, so NiRA, the .ng registry, checks every registration before the domain works. You pay at checkout as usual, then send NiRA the school's documents from your dashboard.
After you pay
- We email you Send your documents so your domain can go live, with the list of documents NiRA needs.
- In My Domains, the domain's status is Pending.
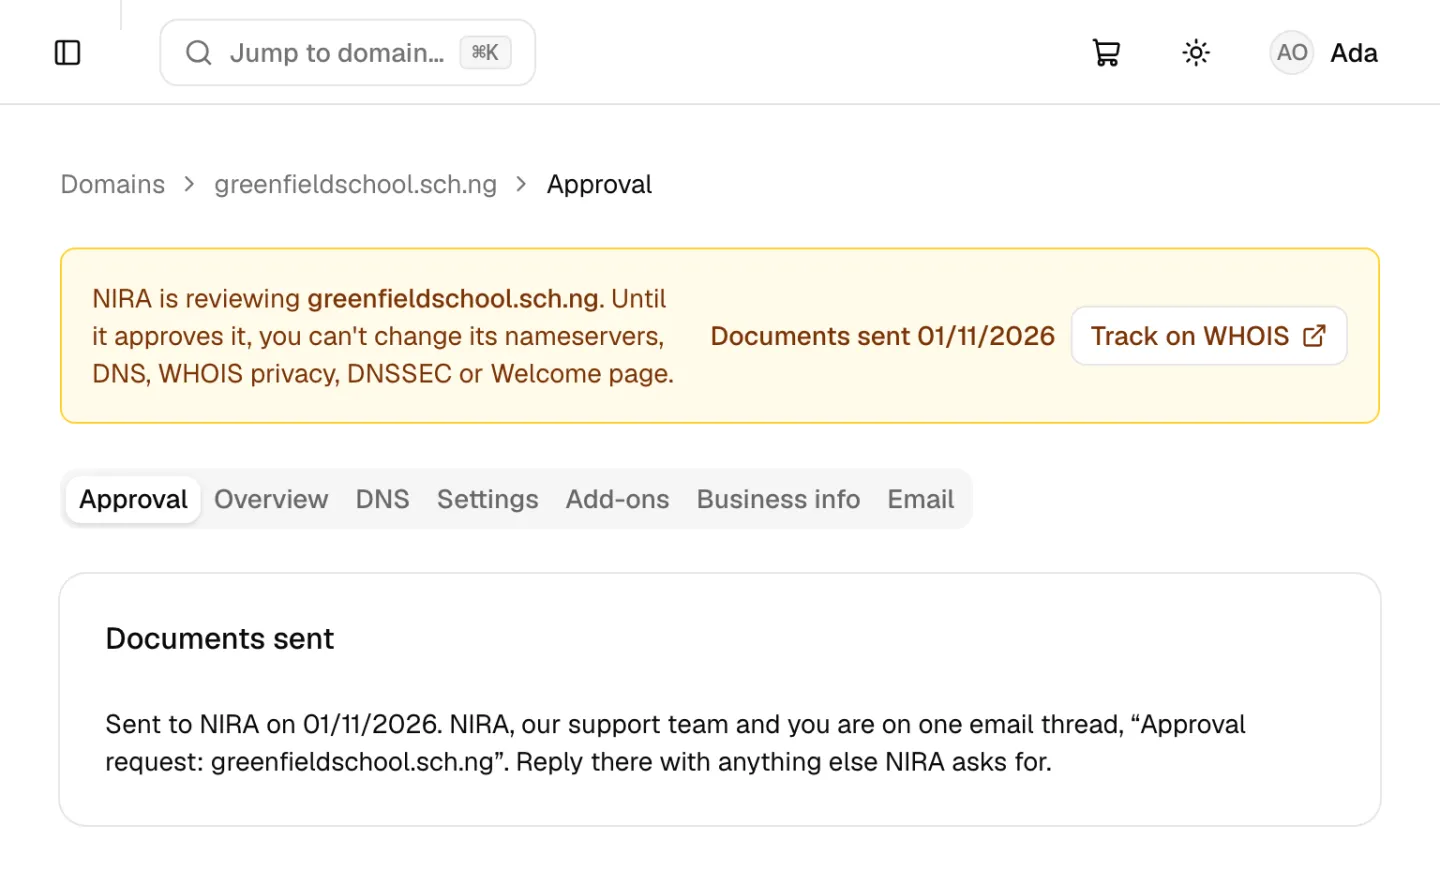
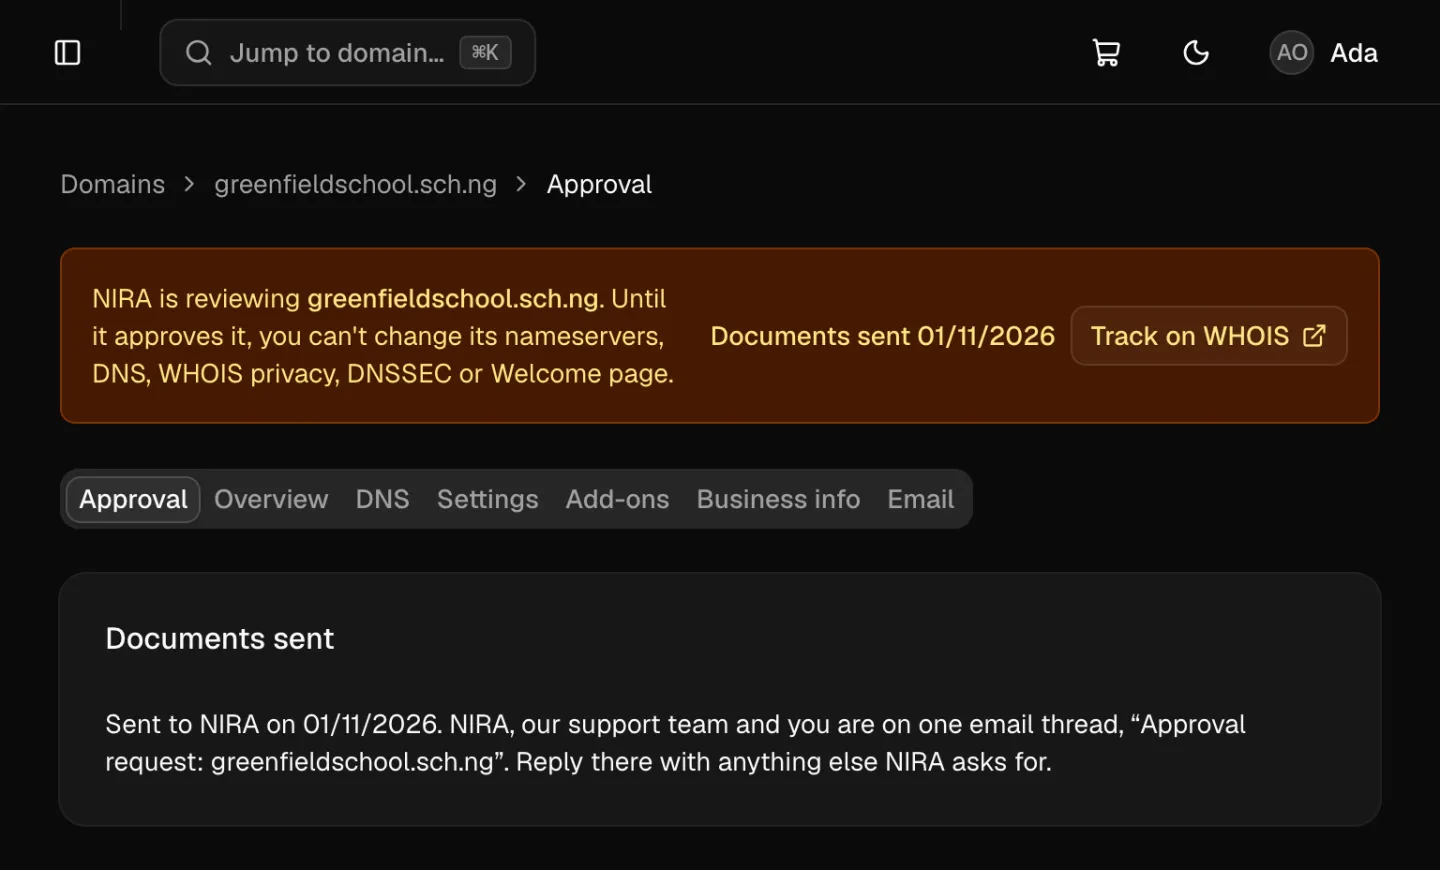
- On the domain's page, a banner says NiRA is reviewing it. Until NiRA approves it, you can't change the domain's nameservers, DNS, WHOIS privacy, DNSSEC or Welcome page.
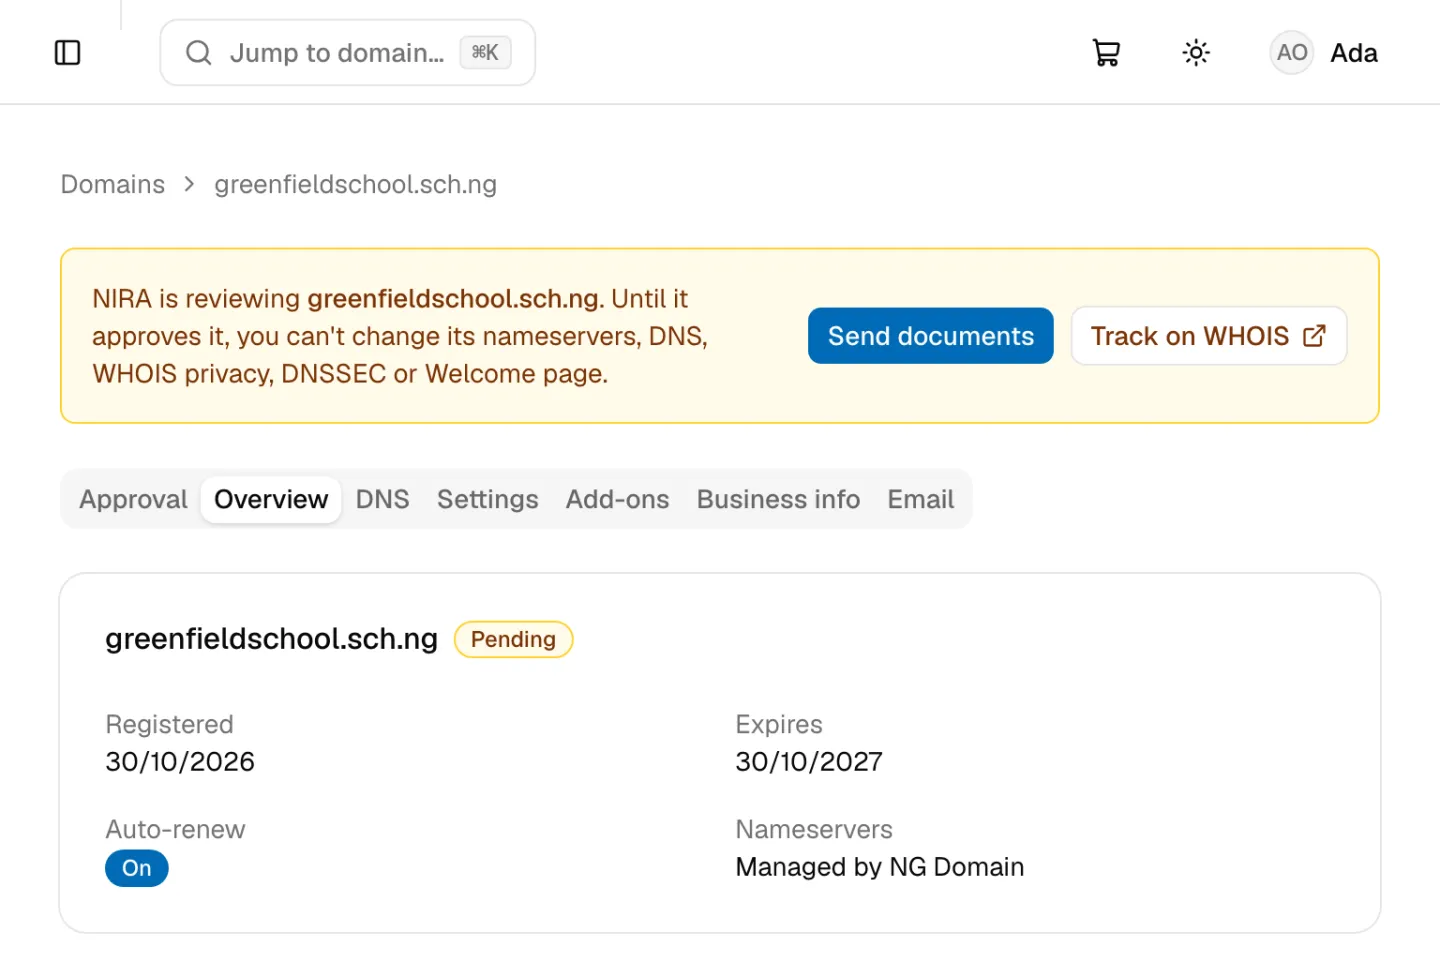
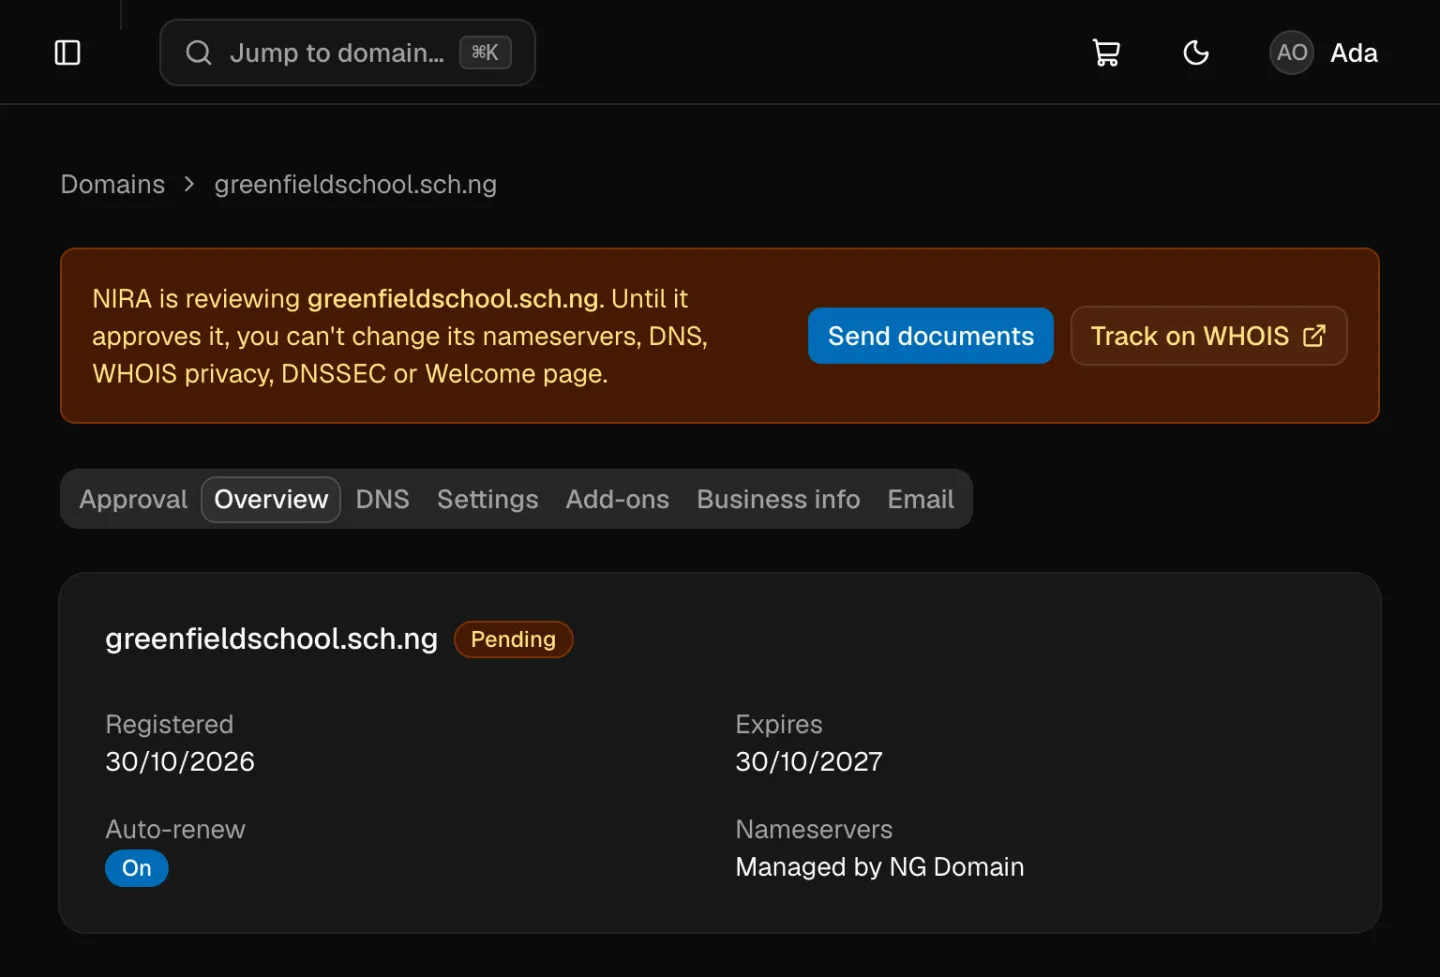
Track on WHOIS opens our WHOIS lookup for the domain, which shows the registry's own status.
What NiRA needs
| Document | What it is |
|---|---|
| Proof of accreditation | Proof that the school is accredited |
| Registrant's ID | Proof of the identity of the person registering the domain |
| Authorisation letter | A letter to the COO of NiRA, on the school's letterhead, saying the registrant acts for the school |
Each file must be a PDF, JPEG or PNG of 1 MB or less. Send at least one file of each kind, and up to 5 files in all.
Send the documents
- Click Send documents on the banner, or open the Approval tab.
- Under Business details, enter the school's name, what it does, its city and country and a contact email, then click Save details. NiRA gets these with your documents, so it knows which school the domain is for.
- Under Documents for NIRA, click Add files and choose your files. Each new file is labelled with the first kind that's still missing. If that's wrong, pick the right kind from the list beside the file. A tick appears next to each kind once it has a file.
- Once every kind has a file, click Send to NIRA.
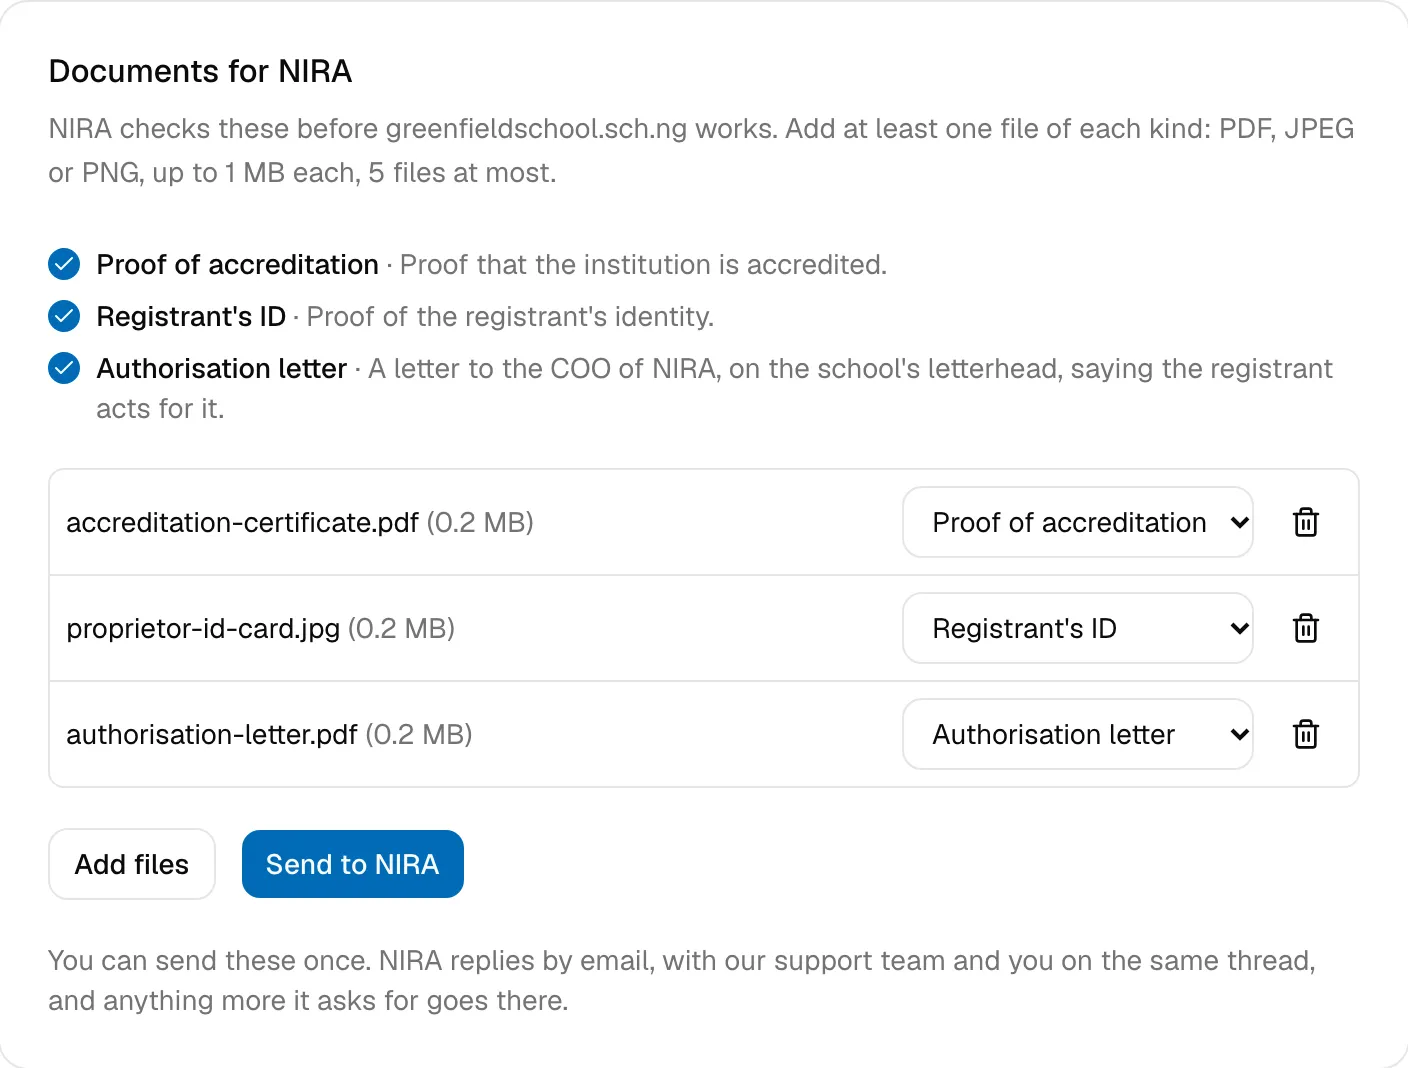
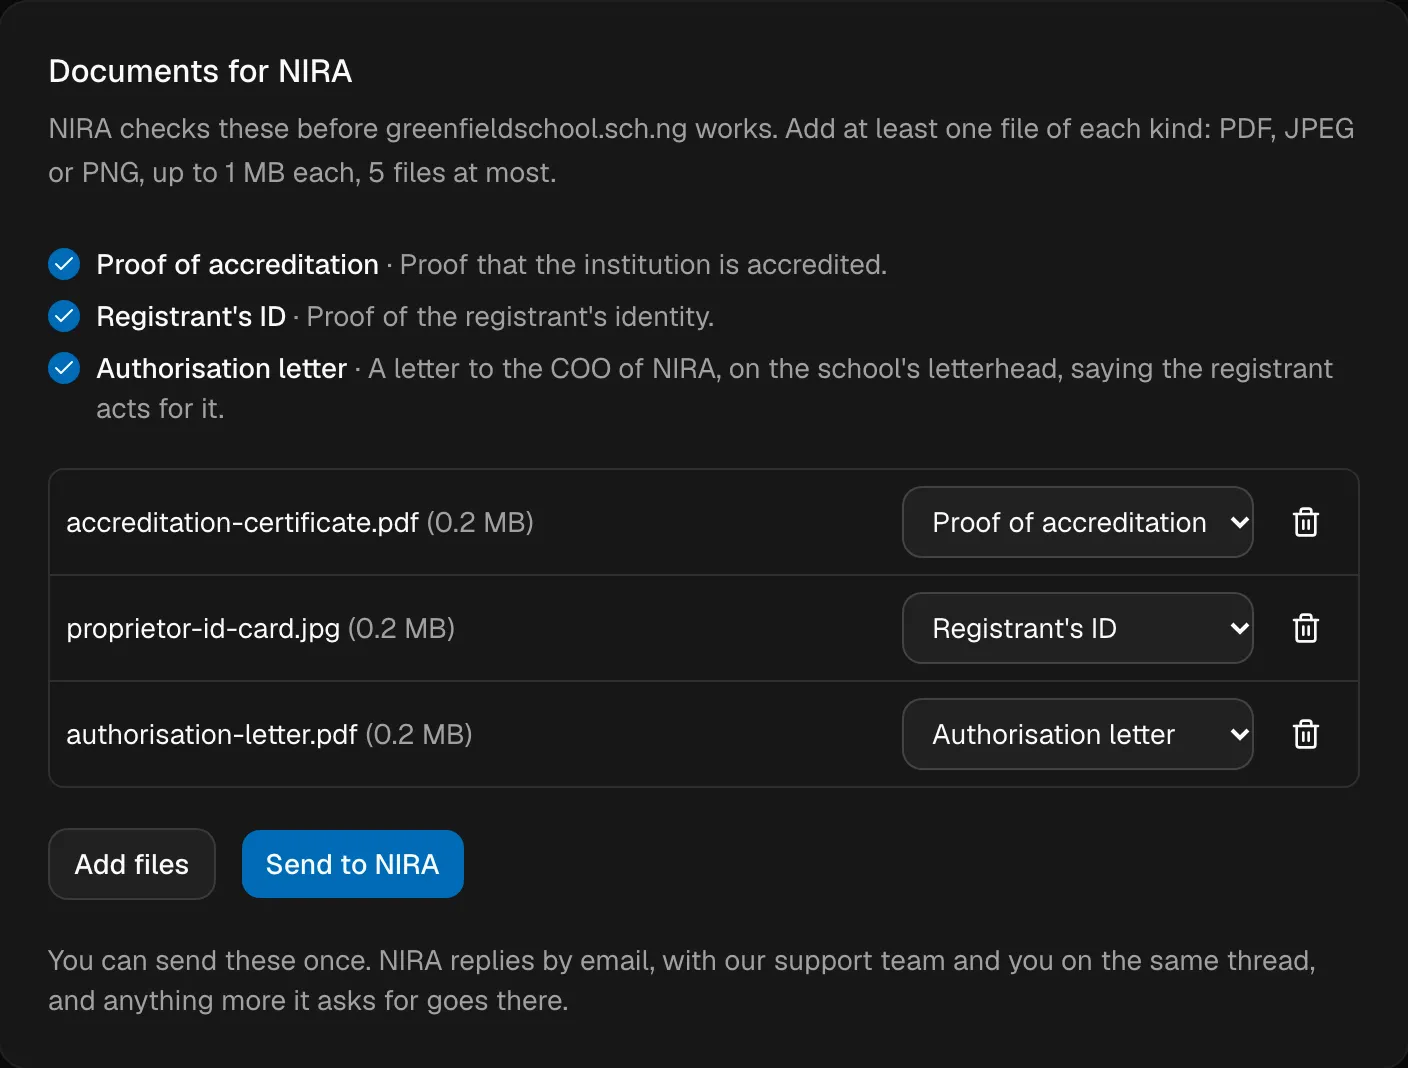
You can only send documents once, so check each file before you click Send to NIRA.
After you send them
The Approval tab then shows Documents sent and the date. NiRA replies by email in a thread called Approval request: your domain, with you and our support team on it. If NiRA asks for anything else, reply in that thread.
Once NiRA approves the domain, the banner and the Approval tab go away, the status changes to active, and you can manage the domain as usual. We set up its free add-ons, such as WHOIS privacy and the Welcome page, at that point.